


We also use a PLT 6 ink which has a better opacity, allowing it to print clearer when imprinting onto the hook or loop side directly. The nature of the hook and loop is that it moves while imprinting. The material is malleable and as such, the printing can come out blurry. The use of this ink helps to offset that somewhat as well as providing an imprint that is easier to see since the hook and loop material does not provide a flat surface for printing. This ink is also used for certain resin backings because it adheres better.
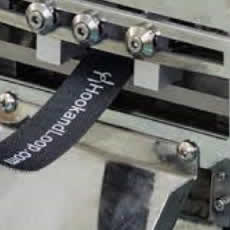
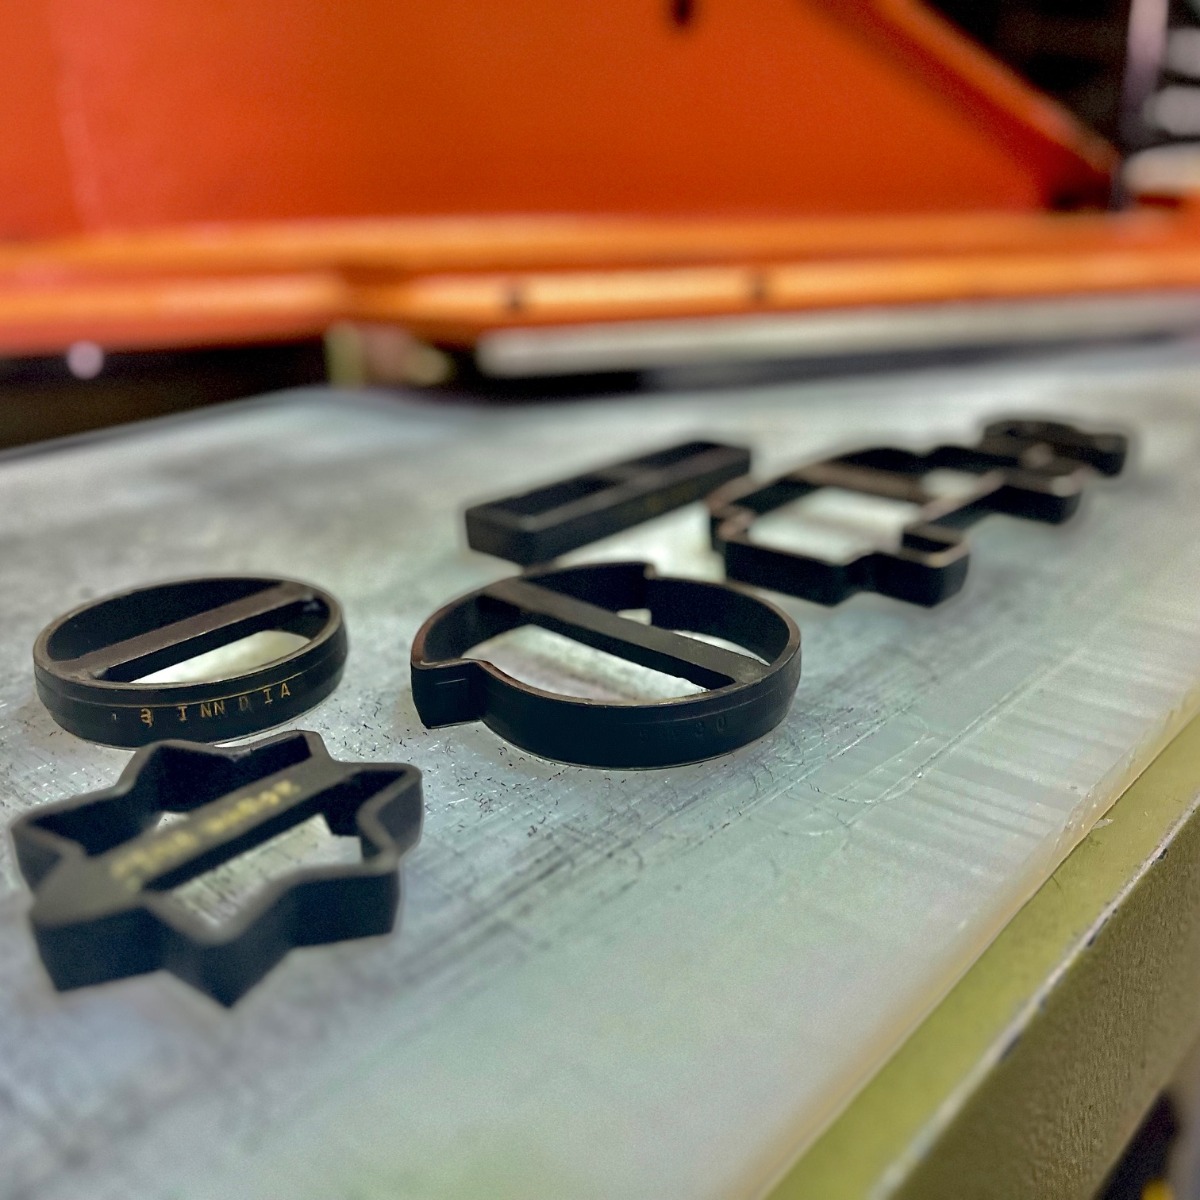
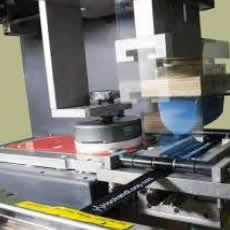
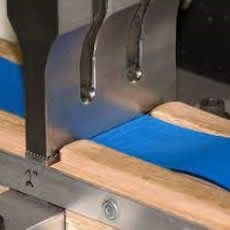
The actual printing process involves an inverted cup of ink that is held to the metal cliché with magnets. The ink cup passes over the cliché, filling the reservoirs with ink and then slides back, exposing the ink. Then a silicon pad comes down and presses onto the ink, lifting the ink out of the cliché. The silicon pad then moves over to the hook or loop material and imprints the logo onto the surface. By the time the logo has been imprinted, the ink has dried. Then the material is fed along into a strip cutter which then cuts the material to the appropriate length. About 5-10 seconds passes from imprint to cut.
When imprinting onto the hook or loop side directly, we sometimes imprint the logo twice. This is done by repeating the logo imprint process before the material is fed through to be cut.
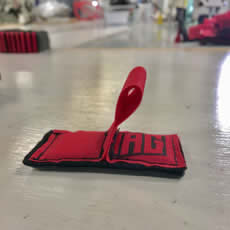
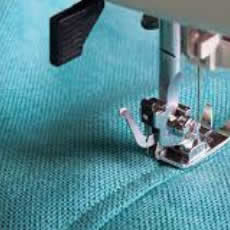
Another technique we use is manually imprinting logos. This is done when a logo is printed in different orientations on a single piece. This is also done when it needs to be imprinted onto material that will not fit well through our machinery. One example would be if a strap needs to be stitched before it’s imprinted, since the sewn strap cannot be fed through our strip cutter. In these cases, we pre-cut the material and place the pieces under the silicon imprinting pad by hand. This requires added attention and focus to ensure consistent imprints.

